By May, most gardeners in the US and Canada are itching to get everything in the ground. Days are longer, seed racks are still full and social feeds are packed with perfect raised beds. It is easy to rush, plant everything at once and then spend the rest of the season playing catch up.
This May garden playbook is here to slow things down just a bit. In about ten minutes you will know:
- What to focus on this month
- How to use your last frost date to time plantings
- A simple May planting checklist for beds and containers
- When to start mulching and how to sync watering with the coming heat
- Which pests and diseases to watch for before summer hits
- How to use Crop Help to turn this list into a repeatable plan, not a one-time push
What to focus on in May
If you only remember three priorities for May, let them be these:
- Plant what is ready for your zone and hold back what still needs warmth.
- Protect from late cold and wild swings in weather.
- Set simple watering and mulching habits before summer heat arrives.
In practice, that means:
- Direct sowing or transplanting cool-season crops in most regions
- Starting or finishing warm-season planting where frost risk has passed
- Keeping some kind of frost protection handy (row cover, sheets, cloches)
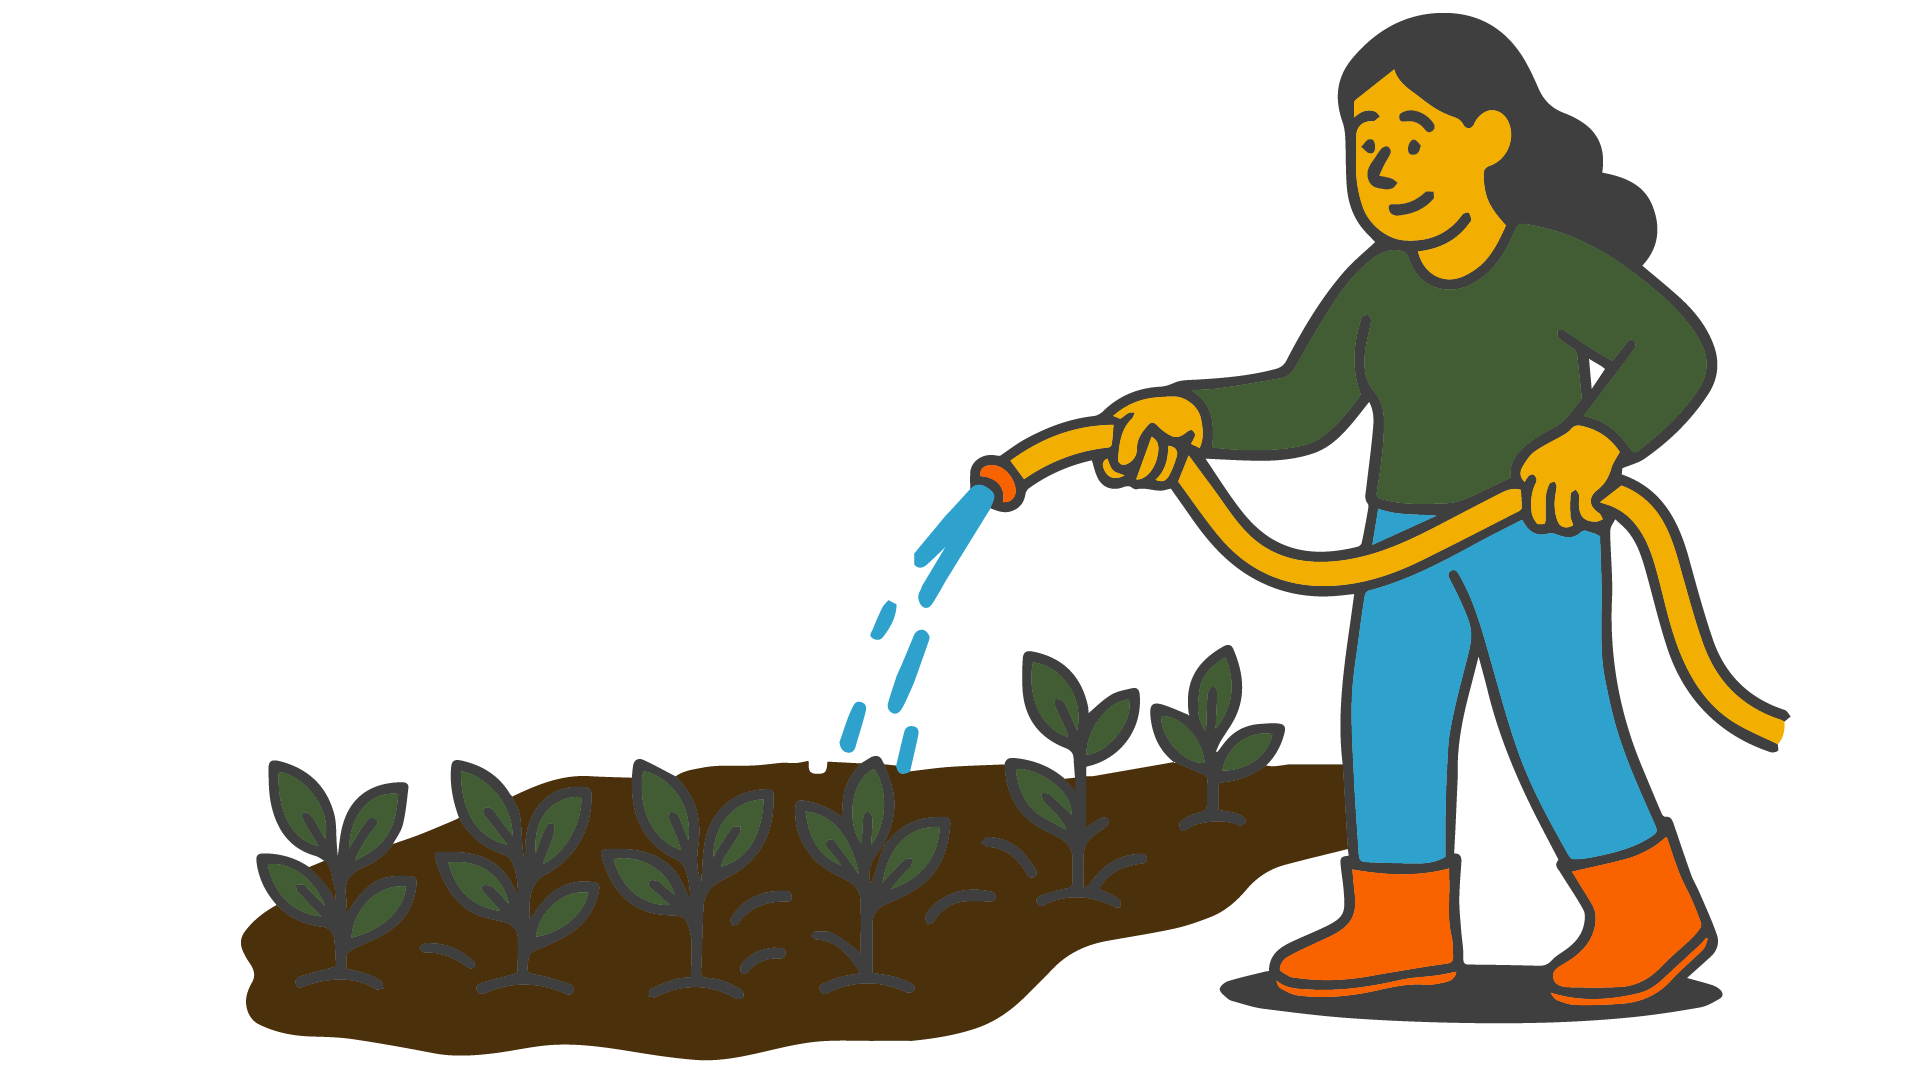
- Getting your watering routine dialed in now, not in July when plants are stressed
- Laying mulch where it makes sense so soil does not bake and crack later
If this feels like a lot, remember: you do not have to do everything in one weekend. May is a whole month. A few focused tasks each week will move your garden forward more safely than one huge push.
Know your frost date and planting window
Your last expected frost date is the anchor for most May decisions. It tells you when it is usually safe to plant tender crops like tomatoes, peppers and basil without constant worry about overnight damage.
How to look up your last frost date
You can find local frost information from:
- National weather services and climate tools
- Local extension or conservation authorities
- Municipal climate and environment pages
Look for a “last spring frost date” or “average last frost” for your town or nearest weather station. It will usually be given as a date range (for example, “May 10–20”).
Why this matters:
- Cool-season crops (peas, spinach, radish, many brassicas) can be planted before that date in many regions.
- Warm-season crops (tomatoes, peppers, squash, cucumbers, beans) are best planted after that date, or under protection if you go earlier.
Treat the frost date as a guide, not a guarantee. May can still bring surprise cold snaps, especially in higher elevations or near large water bodies. That is why we still keep an eye on short-term forecasts.
What’s safe to plant now vs. wait on
You do not need a detailed zone chart in your head. A few broad rules are enough:
Often safe to plant earlier in May (with some protection in colder zones):
- Peas, spinach, lettuce, arugula
- Radish, beets, carrots
- Onions, leeks, many brassicas (broccoli, kale, cabbage)
Better to plant after your last frost date (or under cover):
- Tomatoes, peppers, eggplant
- Cucumbers, squash, pumpkins
- Beans, corn, basil
If you are in a very mild coastal area, you may already be planting many warm-season crops in early May. If you are in a colder inland or northern region, your May may look more like “finish cool-season planting and prep beds for warm crops later.”
Either way, the goal is to match crop choices to your local window instead of copying what a gardener a thousand kilometers away is doing.
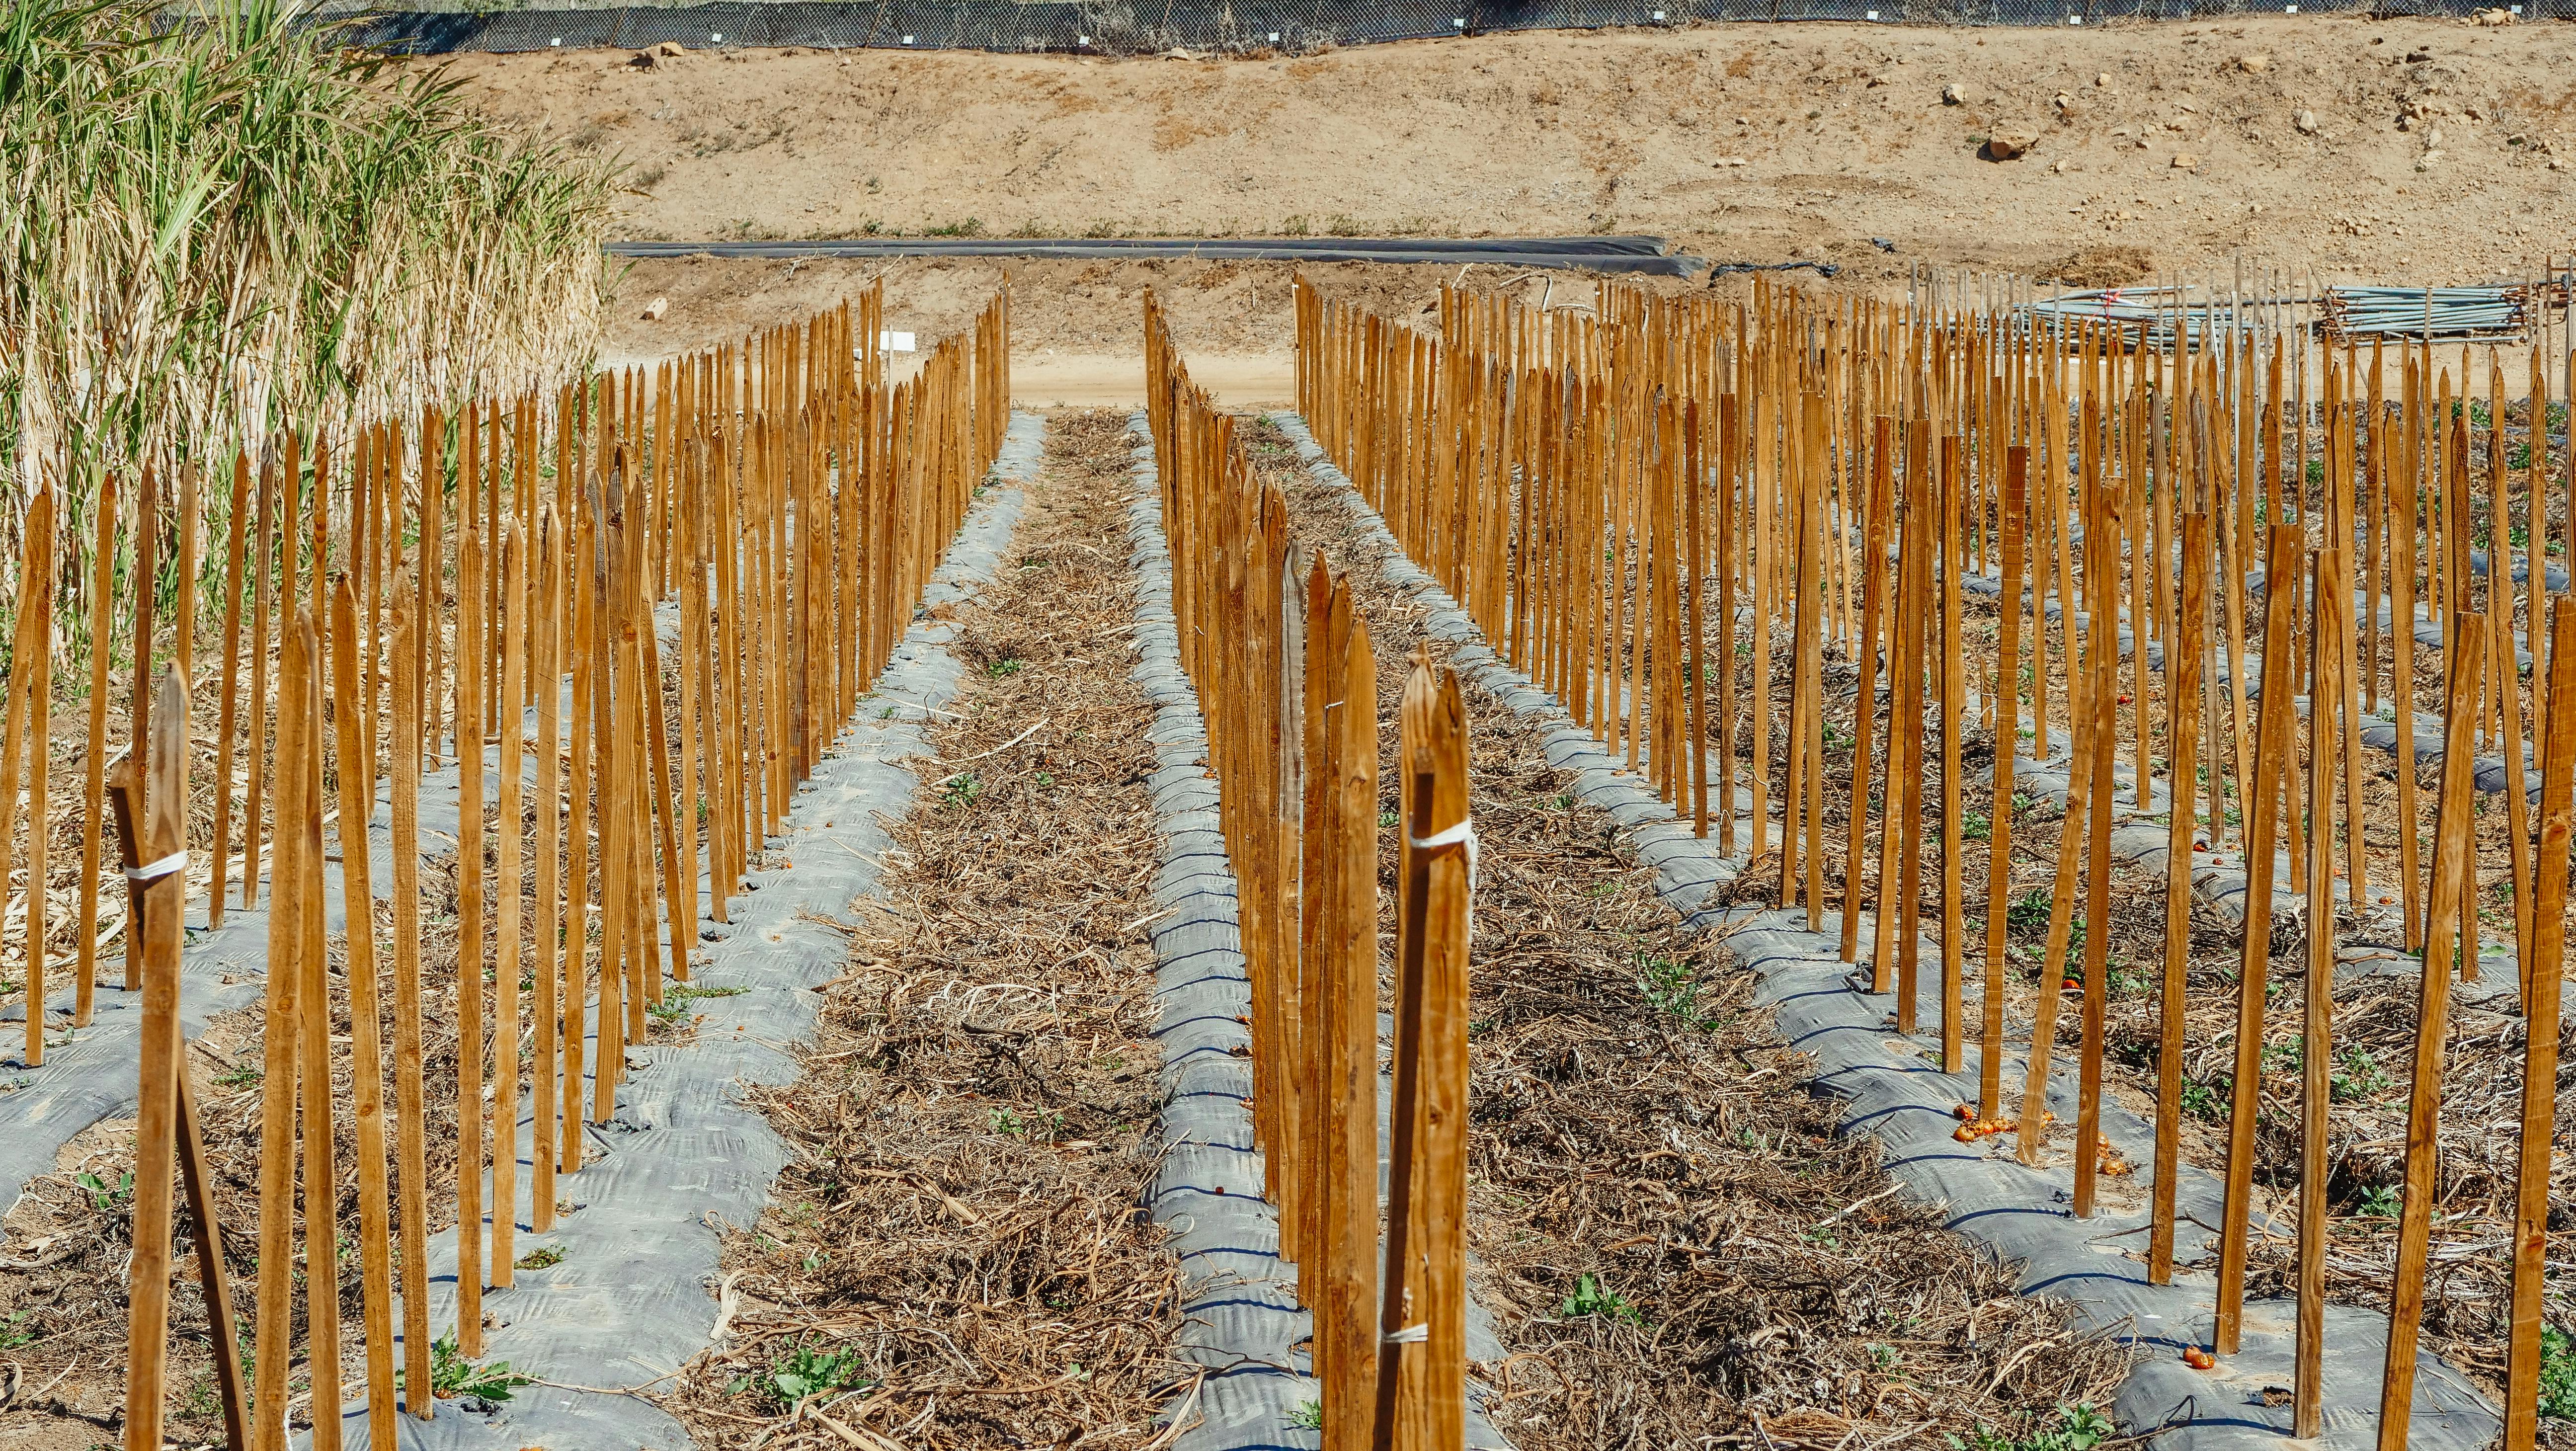
May planting checklist for beds and containers
Once you have a rough sense of your frost window, you can turn it into a simple checklist.
Step 1: Walk your space
Before you grab seeds or transplants, take ten minutes to:
- Note which beds or containers are ready to plant now
- Mark any spots that still need clean up, compost or edging
- Notice where sun is strongest and where shade creeps in by afternoon
This quick walk helps you match crops to spots instead of planting randomly.
Step 2: Direct sow vs transplant
For each open bed or large container, decide which approach makes sense:
- Direct sow fast crops like radish, salad greens and many root crops
- Use transplants for crops that need a head start (tomatoes, peppers, some brassicas)
In May, a common pattern is:
- Direct sow: radishes, carrots, beets, spinach, lettuce mixes, arugula, peas
- Transplant: tomatoes, peppers, early cabbage, kale, onions, leeks
If you are tight on space, remember you can tuck small transplants between slower direct-sown crops. For example, plant baby kale starts between rows of early radish; by the time the kale needs space, the radishes are gone.
Step 3: Plan a simple succession
Succession planting is just staggering plantings over time so you do not get everything at once and nothing later.
In May, that might mean:
- Sowing a small band of salad mix every 1–2 weeks instead of a huge block all at once
- Planting radishes in two or three waves
- Holding back a few tomato or pepper plants in pots to fill gaps if something fails
You can turn these into Tasks in Crop Help with names like “Sow salad bed – first round” and “Sow salad bed – second round.” That way, even if life gets busy, your future self gets a reminder.
Watering and mulching before the summer heat
May is the perfect time to build habits that will protect your plants when summer arrives.
Set a basic watering rhythm
If you read our Watering 101 article, you know that most beds do well with two to three deep waterings per week in mild weather, adjusted for your soil and crops. In May you can:
- Choose your default “watering days” based on your schedule
- Start checking moisture with a finger or trowel before watering
- Note which beds dry out faster and which stay wet longer
Containers and raised beds may need more frequent checks, especially as days warm up. The main goal is to train yourself to water deeply, then let soil breathe, instead of sprinkling lightly every day.
When and how to mulch
Mulch acts like a simple insurance policy:
- It slows evaporation
- Keeps soil temperatures more even
- Reduces crusting and splash that can spread disease
In May, once soil has warmed up and you have planted a bed, you can:
- Add a light layer of straw, shredded leaves or other clean mulch around plants
- Keep mulch a few centimeters away from stems to avoid rot
- Top up thin spots later in the month if it settles
Try not to mulch very cold, soggy soil early in the month; give it time to warm and dry slightly first, then cover.
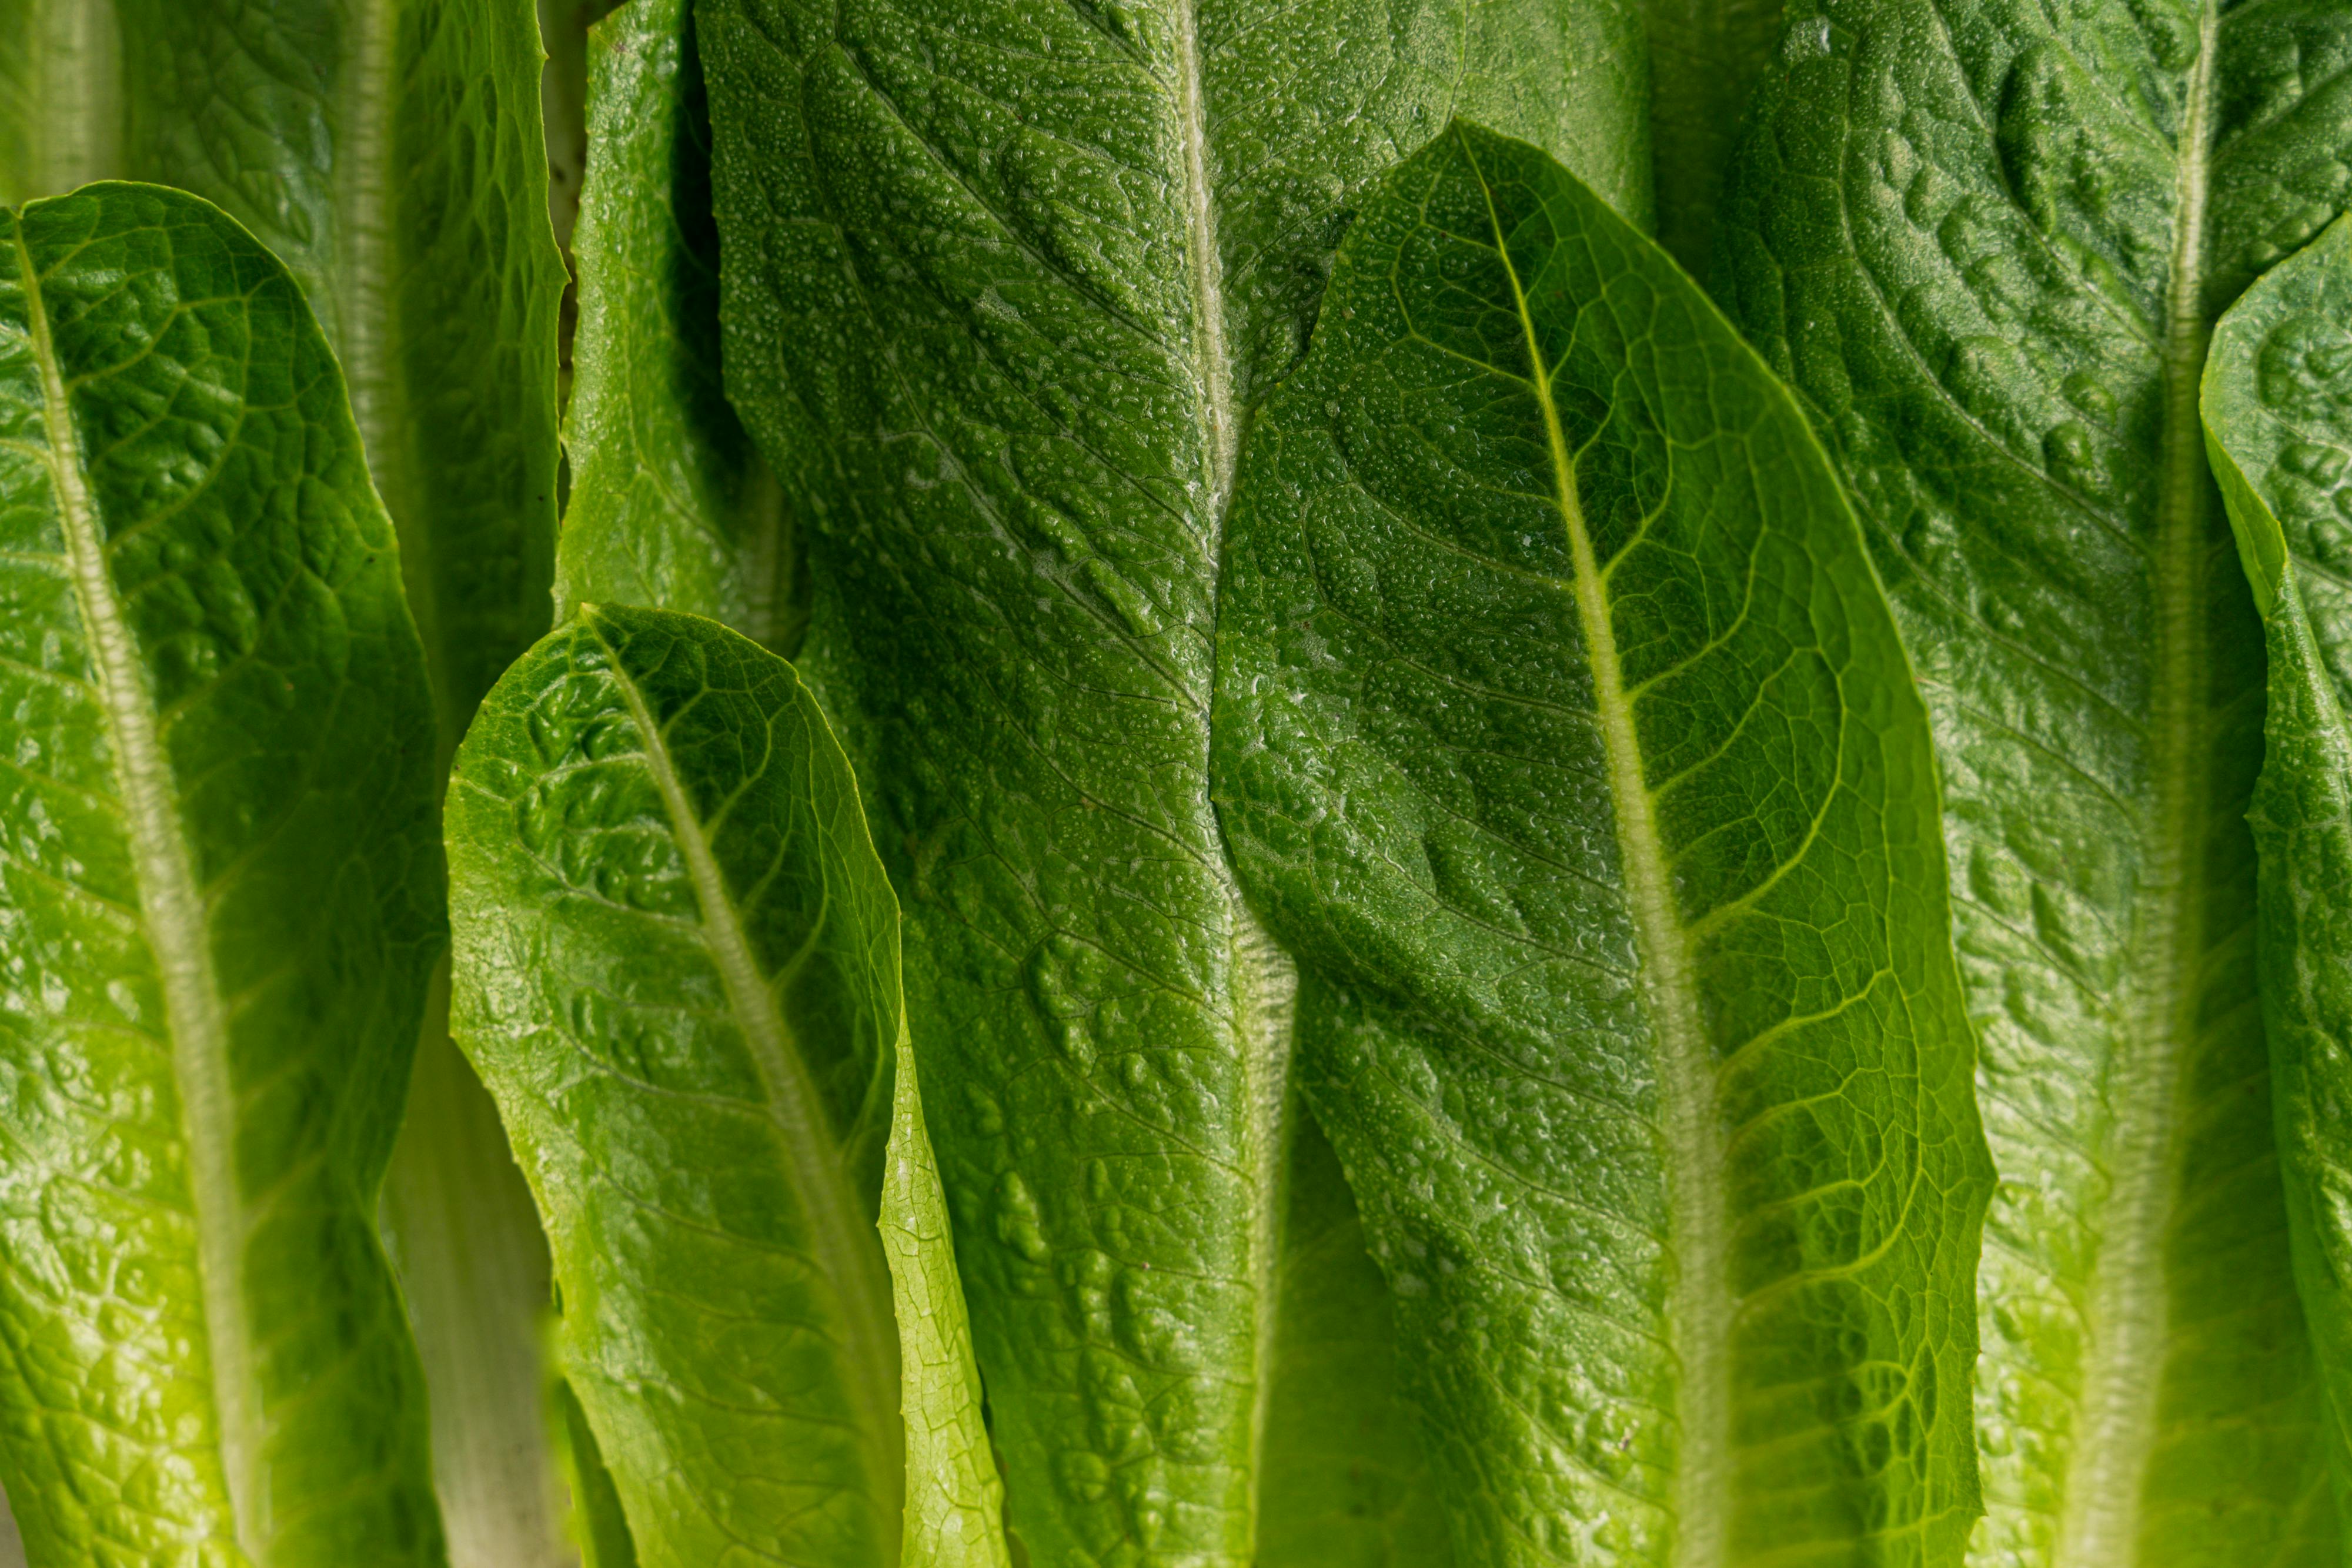
May pest and disease risk watchlist
May often brings the first wave of pests and early diseases as temperatures rise and new growth appears.
Some usual suspects:
- Aphids clustering on tender tips and undersides of leaves
- Flea beetles making tiny “shot holes” in brassica leaves
- Leaf spot and early blight starting low on tomato plants in damp weather
- Slugs and snails feeding on seedlings and low leaves in wet conditions
You do not need to memorize every name. Instead, focus on changes from normal:
- New leaves that suddenly look speckled or chewed
- Sticky residue or sooty mold on leaves (often a sign of sap feeders)
- Brown or black spots that start at the bottom of a plant and move upward
If you see anything odd, take clear photos and log an Issue in Crop Help so you can track it and, if needed, compare it to past seasons.
A 10 minute weekly May scouting routine
Scouting is just a fancy word for looking closely on purpose. In May, a simple 10 minute routine once a week can save you hours of trouble later.
Here is one you can use:
-
Walk the same route each week
- Start at one corner of the garden, move bed by bed
- Include containers, raised beds and any “orphan pots” near doors and fences
-
For each bed or pot, quickly check:
- Overall look: more lush, less lush, or about the same?
- Leaf color: mostly healthy green or pale, yellow, or spotted?
- Leaf surfaces: any holes, sticky patches, or webbing?
- Soil surface: very dry, just right, or soggy?
-
Flip a few leaves:
- Look for aphids, eggs, or clusters of insects
- Check stems near the base for rot or lesions
-
Take two or three photos:
- One wide shot of the bed or container
- One close up of a representative leaf or issue
If you want a deeper dive, our Scouting 101 guide walks through what to look for and how to take photos that make diagnosis easier.
What to do next with Crop Help
A playbook only turns into results if it becomes a routine. Crop Help can help you turn this May checklist into simple, repeatable actions.
Start a “May checklist” Task series
Inside Crop Help, you can:
- Create a Task called “May garden checklist”
- Add subtasks such as “Check frost date and forecast,” “Direct sow salads and radish,” “Mulch tomato bed,” “Set watering days,” “Weekly scouting walk”
- Schedule them across the month instead of stacking them all on one day
This keeps the work realistic and gives you a record of what actually got done and when.
Batch photo uploads after workdays
After weekend workdays or evening sessions:
- Take a few quick photos of each bed or container
- Upload them as a batch to Crop Help
- Attach notes like “mulched this bed” or “first sowing of carrots”
Those images and notes form a visual history you can use later to understand why a crop did well or struggled.
May does not have to be a scramble. With a clear frost-aware plan, a simple planting checklist, early watering and mulching habits, and a short weekly scouting routine, you will head into summer with a garden that feels under control instead of overwhelming. And with Crop Help keeping track of tasks and photos, you can spend more time enjoying the season and less time wondering what you forgot.